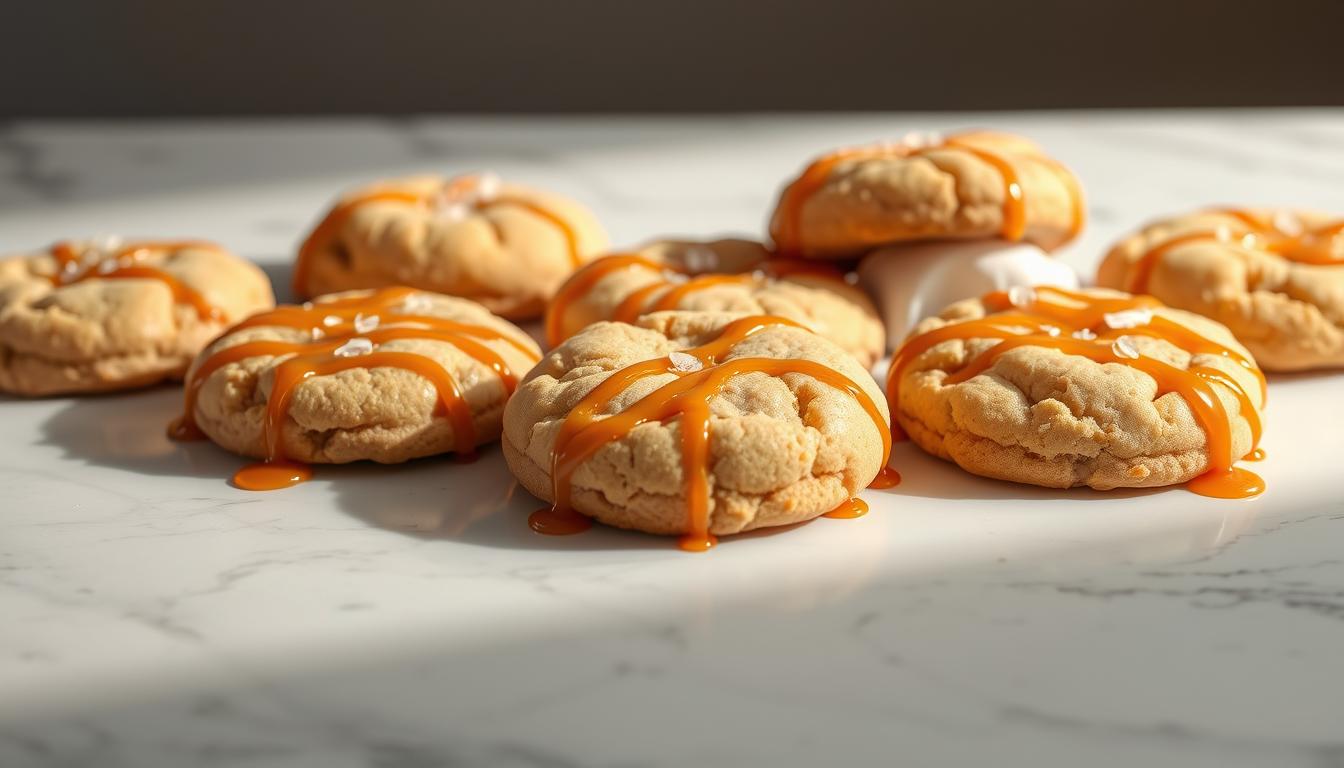
Chewy Salted Caramel Cookies: 5 Secrets for Bakery-Quality Results
There’s something magical about the smell of freshly baked treats filling your kitchen. Whether it’s a lazy Sunday afternoon or a special occasion, baking can turn ordinary moments into cherished memories. If you’ve ever dreamed of creating Chewy Salted Caramel cookies that rival your favorite bakery, you’re in the right place.
In this guide, we’ll uncover five expert secrets to crafting chewy, indulgent cookies that combine the rich flavors of chocolate and caramel. From mastering the perfect mix to understanding the importance of oven temperature, every detail matters. These tips will help you elevate your baking game and impress everyone who takes a bite.
By focusing on high-quality ingredients and proven techniques, you’ll achieve cookies that are both crunchy and chewy. Whether you’re a seasoned baker or just starting, these steps are designed to make the process simple and enjoyable. Let’s dive in and transform your next batch into something extraordinary.
Table of Contents
Introduction: Discovering Chewy Salted Caramel Cookies
Baking at home brings a sense of joy and accomplishment, especially when the results rival your favorite bakery. This guide is designed to help you master the art of creating Chewy Salted Caramel Cookies, indulgent treats that combine rich flavors and perfect textures. Whether you’re a seasoned baker or just starting, you’ll find practical tips and step-by-step instructions to elevate your skills.
What You Will Learn from This How-To Guide
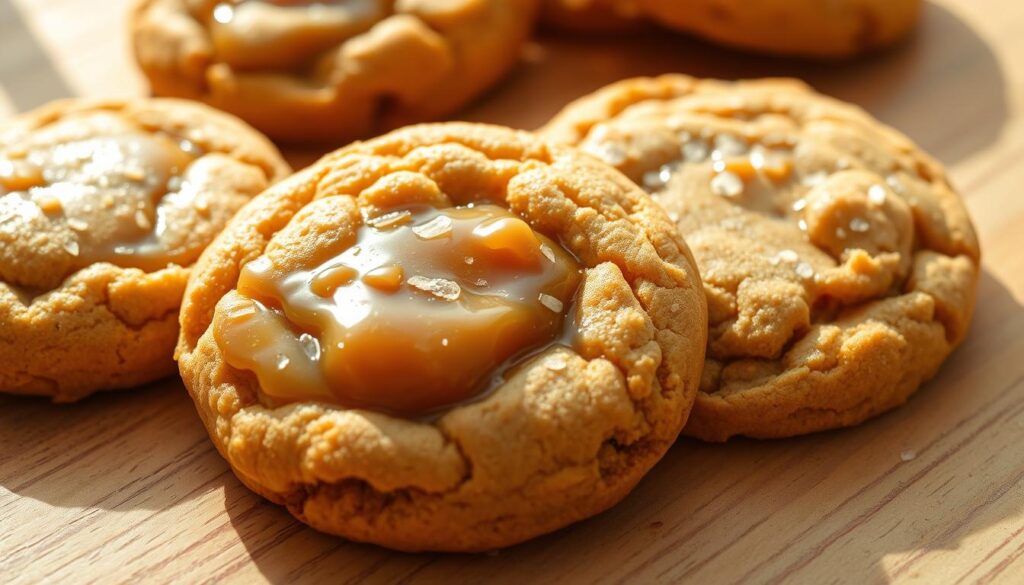
This guide covers everything from selecting high-quality ingredients to the final presentation of your cookies. You’ll discover how basic cookie dough transforms into irresistible treats with the right techniques. We’ll also explore the magic of integrating caramel for a sweet, crunchy surprise in every bite.
Here’s a quick overview of what you’ll gain:
- Insider secrets to achieving the perfect balance of flavors and textures.
- Tips for precise measurements and using the right sheet pans for even baking.
- Step-by-step instructions to ensure consistent results every time.
The Allure of Bakery-Quality Cookies at Home
There’s something special about making gourmet treats in your own kitchen. The process of mixing, shaping, and baking chocolate chip cookies can be both relaxing and rewarding. Plus, the satisfaction of biting into a warm, chewy cookie straight from the oven is unmatched.
Below is a table summarizing key aspects of the baking process:
| Aspect | Details |
|---|---|
| Preparation Time | 15 minutes |
| Baking Time | 12-14 minutes |
| Dough Chilling | At least 4 hours (ideally overnight) |
| Cookies per Sheet | 9 cookies |
By following this guide, you’ll not only create delicious cookies but also enjoy the process of baking. Let’s dive into the details and make your next batch truly extraordinary.
Essential Ingredients & Tools for Chewy Cookies
The foundation of any great recipe lies in its ingredients and tools. To create cookies that are both chewy and flavorful, you need to start with high-quality components. From rich butter to premium caramel, every element plays a crucial role in achieving bakery-quality results.
Key Ingredients: Butter, Caramel, and More
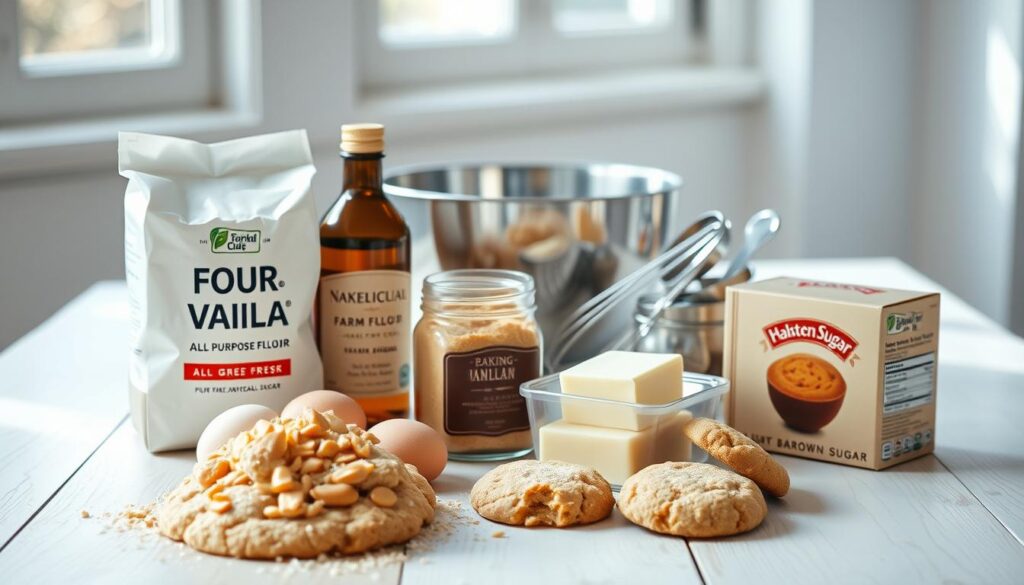
Butter is the backbone of any great cookie. It adds richness and helps create that perfect chewy texture. Opt for unsalted butter to control the saltiness in your recipe. Caramel, especially the thick, gooey kind, brings a sweet depth that complements the buttery base.
Sea salt is another essential ingredient. It balances the sweetness and enhances the overall flavor profile. When combined with ingredients like dark chocolate chips, it creates a complex taste that’s hard to resist.
Must-Have Tools for Perfect Baking
Having the right tools is just as important as the ingredients. A sturdy baking sheet ensures even heat distribution, preventing burnt edges. A reliable mixer helps achieve the perfect dough consistency, while a good set of measuring cups guarantees precision.
Here’s a table summarizing the essential ingredients and tools:
| Category | Details |
|---|---|
| Ingredients | Unsalted butter, thick caramel sauce, sea salt, dark chocolate chips, all-purpose flour, brown sugar, granulated sugar, eggs, vanilla extract |
| Tools | Baking sheet, stand mixer or hand mixer, measuring cups, silicone baking mat, cooling rack |
By investing in high-quality ingredients and tools, you set yourself up for success. Whether you’re following a classic recipe or experimenting with new flavors, these essentials will help you create Salted Caramel Cookies that are truly unforgettable.
Baking Perfect Salted Caramel Cookies: Insider Secrets
The secret to bakery-level treats lies in the details, from ingredient ratios to oven precision. Achieving the perfect balance of flavors and textures is what sets your creations apart. Let’s dive into the techniques that make all the difference.
Secrets to Balancing Flavors and Textures
Balancing sweetness and savory notes is key to creating a memorable treat. Using a mix of sugar and brown sugar adds depth to the flavor profile. Brown sugar, with its molasses content, enhances chewiness, while granulated sugar provides a slight crunch.
Salt plays a crucial role in this balance. A pinch of salt not only contrasts the sweetness but also amplifies the overall taste. As one expert puts it,
“Salt is the unsung hero of baking—it brings out the best in every ingredient.”
Integrating Caramel for Crunchy Surprises
Adding caramel chocolate pieces to your dough ensures a delightful surprise in every bite. These bits melt slightly during baking, creating pockets of gooey goodness. For the best results, fold them gently into the dough to distribute evenly.
When shaping your dough ball, aim for consistency. A size of about 1¼ inches in diameter ensures even baking. Space them 2 inches apart on the baking sheet to allow for spreading.
Preheat your oven to 375°F for optimal results. This temperature ensures the cookies bake evenly without overbrowning. Keep an eye on them during the last few minutes to achieve that perfect golden edge.
Step-by-Step Guide to Mixing and Shaping Cookie Dough
Mastering the art of mixing and shaping dough is the key to bakery-level results. Whether you’re using a stand mixer or mixing by hand, the process requires precision and care. Follow these steps to create a dough that’s soft, structured, and ready to bake.
Techniques for a Consistently Chewy Dough
Start with room-temperature butter. This ensures it blends smoothly with sugars, creating a creamy base. Use a mixer to cream the butter and sugars until light and fluffy. This step incorporates air, which contributes to the dough’s texture.
Measure your flour accurately. Spoon it into a measuring cup and level it off with a knife. Too much flour can make the dough dry, while too little can lead to spreading. Add the flour gradually to the butter mixture, mixing just until combined.
As one expert notes,
“Overmixing can develop gluten, making the dough tough. Mix until the ingredients are just incorporated.”
Incorporate eggs and vanilla extract one at a time, ensuring each is fully blended before adding the next. This step ensures even distribution of moisture and flavor. Finally, fold in any mix-ins, like chocolate or nuts, gently to avoid overworking the dough.
Shaping Perfect Dough Balls
Use a cookie scoop or tablespoon to portion the dough into even balls. Aim for about 1¼ inches in diameter for consistent baking. Roll each portion gently between your palms to create smooth, round shapes.
Space the dough balls about 2 inches apart on the baking sheet. This allows room for spreading without merging. If the dough feels sticky, lightly flour your hands or the scoop for easier handling.
| Step | Tips |
|---|---|
| Mixing Butter & Sugars | Cream until light and fluffy for airy texture. |
| Adding Flour | Measure accurately and mix just until combined. |
| Incorporating Eggs | Add one at a time, blending fully after each. |
| Shaping Dough | Use a scoop for even portions and smooth shapes. |
By following these steps, you’ll create a dough that’s perfectly balanced—soft enough to shape but structured enough to hold its form. This ensures every bite is as delightful as the last.
Achieving Bakery-Quality Results in Your Oven
The right oven settings can make or break your baking results. To create treats that rival your favorite bakery, you need to master the art of precise baking. From temperature control to timing, every detail matters. Let’s explore how to optimize your oven for perfect results.
Optimal Baking Times and Temperature Tricks
Preheat your oven to 375°F for even baking. This temperature ensures your treats develop a golden edge while staying soft in the center. Bake for 10-12 minutes, checking during the last few minutes to avoid overbaking.
As one expert notes,
“A preheated oven is essential for consistent results. It prevents uneven baking and ensures the dough sets properly.”
For thicker treats, reduce the baking soda slightly and add a bit more flour. This helps maintain structure and prevents excessive spreading.
Preventing Overbake for Perfect Chewiness
To achieve that chewy texture, remove your treats from the oven when the edges are golden but the center is still soft. They’ll continue to firm up as they cool on the baking sheet. Avoid leaving them in too long, as this can dry them out.
Using ingredients like vanilla and egg helps retain moisture. These components create a balanced dough that bakes evenly without becoming too crisp.
Choosing the Right Baking Sheets and Equipment
Invest in high-quality baking sheets for even heat distribution. Non-stick or silicone-lined sheets prevent sticking and ensure easy removal. A reliable stand mixer is also a game-changer, making it easier to achieve the perfect dough consistency.
When mixing, use a large bowl to give the dough room to incorporate air. This step contributes to a light, chewy texture. Proper equipment ensures every batch turns out just as good as the last.
By mastering these techniques, you’ll transform your kitchen into a bakery. With the right tools and timing, you’ll create treats that are top-notch every time.
Enhancing Your Cookies: Finishing Touches and Storage Tips
The final touches on your baked goods can elevate them from good to unforgettable. Whether it’s a sprinkle of sea salt or a dusting of granulated sugar, these small details make a big difference. Proper storage and presentation also ensure your creations stay fresh and look stunning for days.
Adding the Perfect Sprinkle of Sea Salt
A light sprinkle of flaky sea salt adds a savory contrast to the sweetness of your treats. This simple tip enhances the flavor profile, making each bite more complex and satisfying. For best results, sprinkle the salt immediately after baking while the surface is still slightly warm.
If you’re using granulated sugar, mix it with a pinch of baking soda for a subtle crunch. This combination not only adds texture but also balances the richness of the dough. As one expert notes,
“The right finishing touch can transform a good cookie into a masterpiece.”
Expert Storage and Presentation Ideas
Proper storage is key to maintaining freshness. Let your treats cool completely on a wire rack before transferring them to an airtight container. This prevents moisture buildup, keeping them chewy and delicious for up to three days.
For a polished presentation, arrange your treats on a decorative stand or platter. Use parchment paper or a silicone mat to create a clean, professional look. If you’re serving them at a gathering, consider adding a small card with the recipe or a fun description.
Here’s a quick guide to storage and presentation:
- Cool completely before storing to avoid sogginess.
- Use airtight containers to maintain freshness.
- Arrange on a decorative stand for a visually appealing display.
By mastering these finishing touches and storage techniques, you’ll ensure your baked goods are as delightful to look at as they are to eat. Every detail counts when it comes to creating something truly special.
Conclusion
Perfecting a recipe is all about understanding the details that make it shine. From choosing the right ingredient to mastering the texture, every step plays a role in creating something extraordinary. Whether you’re mixing dough or baking to golden perfection, attention to detail is key.
Experiment with techniques like chilling the dough or adding a light sprinkle of sea salt. These small tweaks can elevate even a basic cookie recipe into a gourmet treat. Remember, practice makes progress, and every half effort brings you closer to mastering the art of baking.
Share your creations and inspire others to try these tips. With patience and creativity, you’ll find that the center of every bite is worth the effort. Keep exploring, keep baking, and enjoy the journey!
FAQ
What makes these cookies chewy?
Can I use store-bought caramel for this recipe?
How do I prevent my cookies from spreading too much?
What’s the best way to add sea salt to the cookies?
Can I freeze the dough for later use?
What type of baking sheet works best for these cookies?
How do I store baked cookies to keep them fresh?
Can I substitute granulated sugar for brown sugar?
We’d Love to Hear Your Sweet Feedback!
There are no reviews yet. Be the first one to write one.

